
Adjustment Door and Drawer – Fix 7 Common Problems Fast
Are you frustrated at seeing your Kitchen Cabinet door and drawer sagging or sticking? Then you must learn that most alignment issues are a simple 2-minute fix. The hardware can move or loosen over time, creating adjustment door and drawer issues. This is an adjustment door drawer a complete guide will show you how to get it all running smoothly again. You’ll be able to easily identify the cabinetry hardware and understand the use of right adjustment screws to adjust doors and drawer fronts after you finish reading it.
Cabinet Adjustment Door Drawer A Complete Guide
How to Adjust Cabinet Doors in Simple Steps
The first step is to determine the type of door hinge. The mounting screws should always be checked tight. Actually, most of the problems can be resolved simply by adjusting the door hinges by using the special screws.
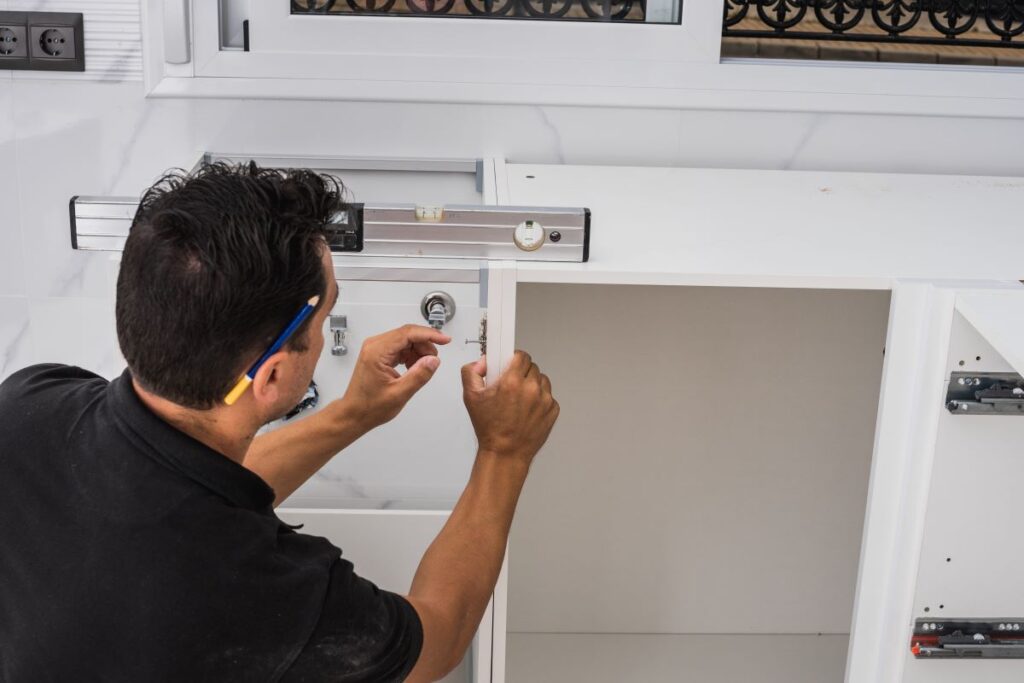
Identify Door Hinge and Adjustment Screws
The European concealed hinges are mostly used in modern kitchen cabinets. On the inside of the cabinet box where the hinge arm attaches to the cabinet box, is a metal mounting plate with two or three adjustment screws.
Height Screw (Up/ Down): Typically vertical.
Depth Screw (In/Out): Typically, horizontal.
Side to Side Screw (Left/Right): Frequently the 3 rd screw.
Pro alert: DO NOT loosen the screws that hold the door together on the hinge.
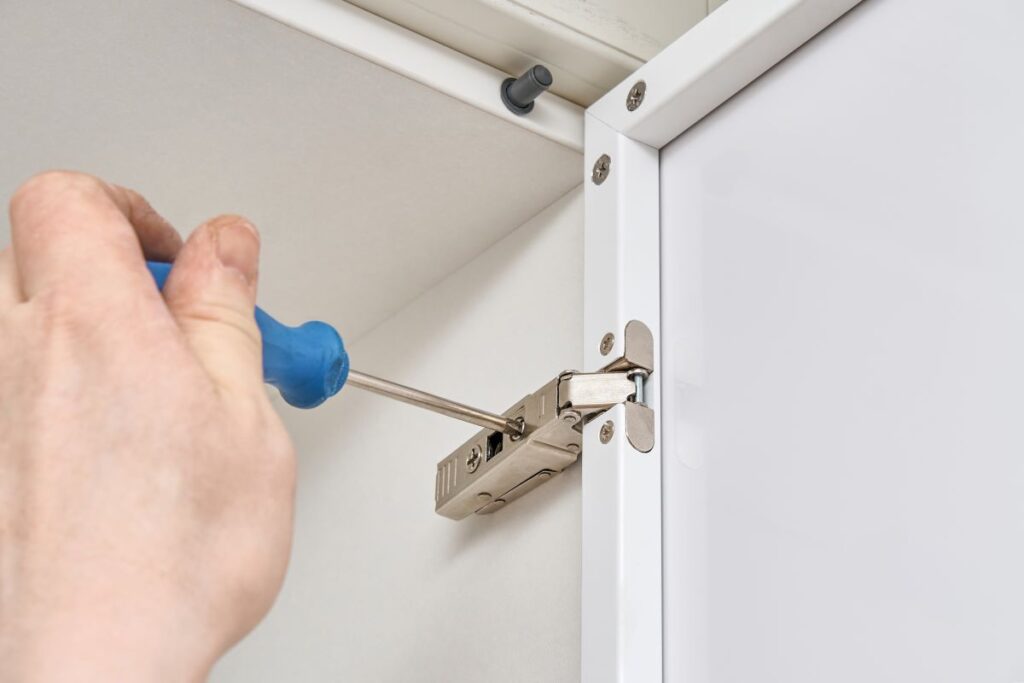
- Tighten the Loose Mounting Screws
Open the cabinet door and locate the point of attachment of hinges to the cabinet box. Attach the hinge to the cabinet with a screw through the two holes on the cabinet; one on the top and the other at the bottom. Make sure this door is secure by turning these screws clockwise. Check the knobs also along with hinges.
 Adjust the door up and down
If tightening the mounting screws does not fix the problem of the adjustment door and drawer, it means door is too high or too low. Find a screw that makes the door be raised and lowered.
In the event that it lacks a separate adjustment screw, just loosen the two mounting screws of the hinges. Adjust the screws to the desired location of the door and then screw the door.
- Adjustment Door Right or Left
Use the left and right adjusters to move the door on the sides to align the door with the edge of the next door or cabinet box. Each door can have one or two hinges that are adjustable. When the door is tilted to the right, rotate the screws on the top hinge on both sides so that the doors are made to move nearer to the side of the cabinet as well as move the top of the door to the left. Unless it does, set both bottom hinge screws on a side by shifting the hinge off of the cabinet, and bring the bottom of the door to the right.
- Adjust the Door in or Out
Use the depth adjustment screws to move the door in and out of the cabinet box. Wooden doors are slightly distorted by seasonal humidity. So when the door is closed, the door is pushed away from the top or bottom box instead of being level with the box. It may bounce when closed. If the door does not touch the top box, adjust the top hinge towards the cabinet or adjust the bottom hinge away from the cabinet. If the door is down, do the opposite.
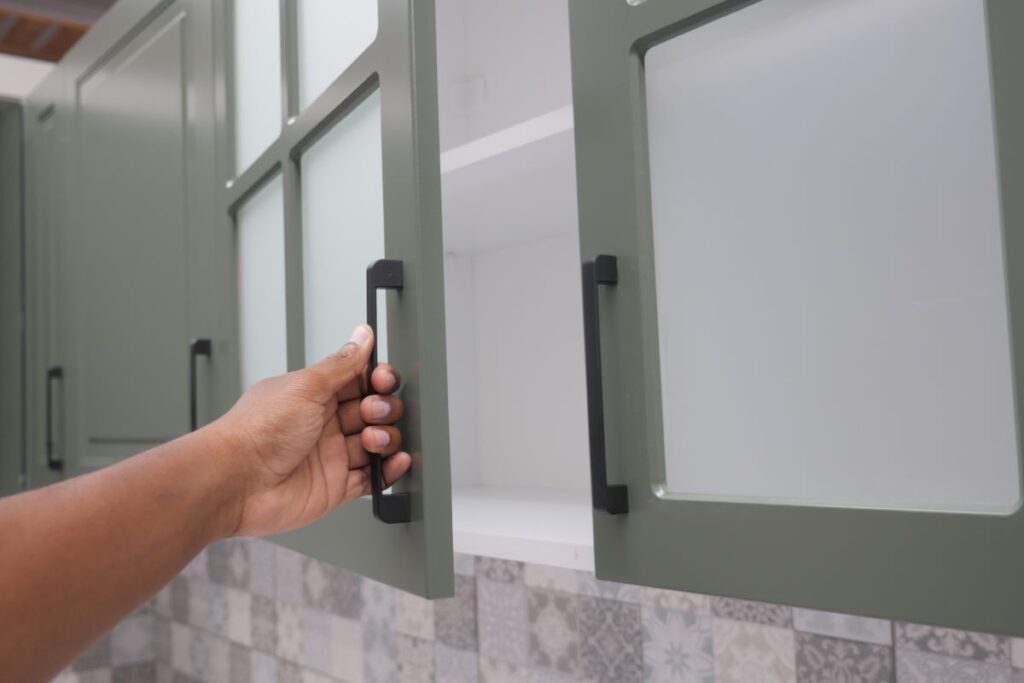
- Test the Door
After each fine adjustment, close the door, move the door in the correct direction, and then see if further adjustment door is needed at this point. Continue till it is fit. It is a method of trial and error, and adjustment is the name of the game for proper functioning.
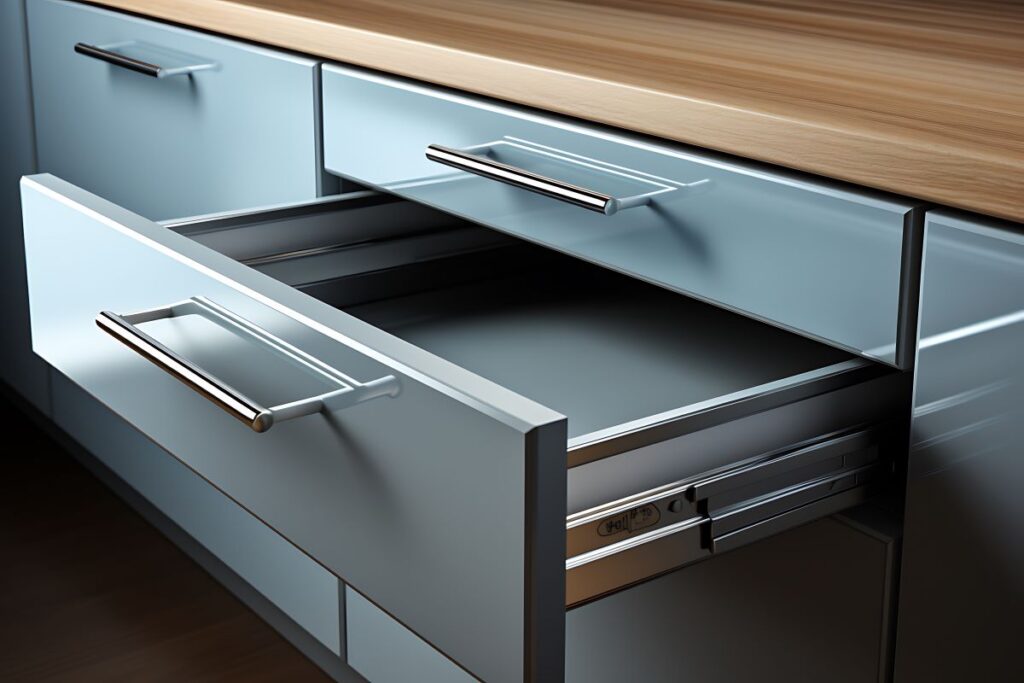
Adjustment of Soft Closed Kitchen Cabinet Drawer Fronts
Kitchen drawer should slide in and out of the cabinet smoothly and efficiently. If it rubs, jams, or binds the drawer during use, do not suffer anymore. Almost all drawers on cabinet slides and drawer slides have built-in adjustment devices. The vertical alignment is adjusted on the drawer slide rail. The level adjustment door can be found in the furniture guide. You only need a screwdriver to adjust the drawer.
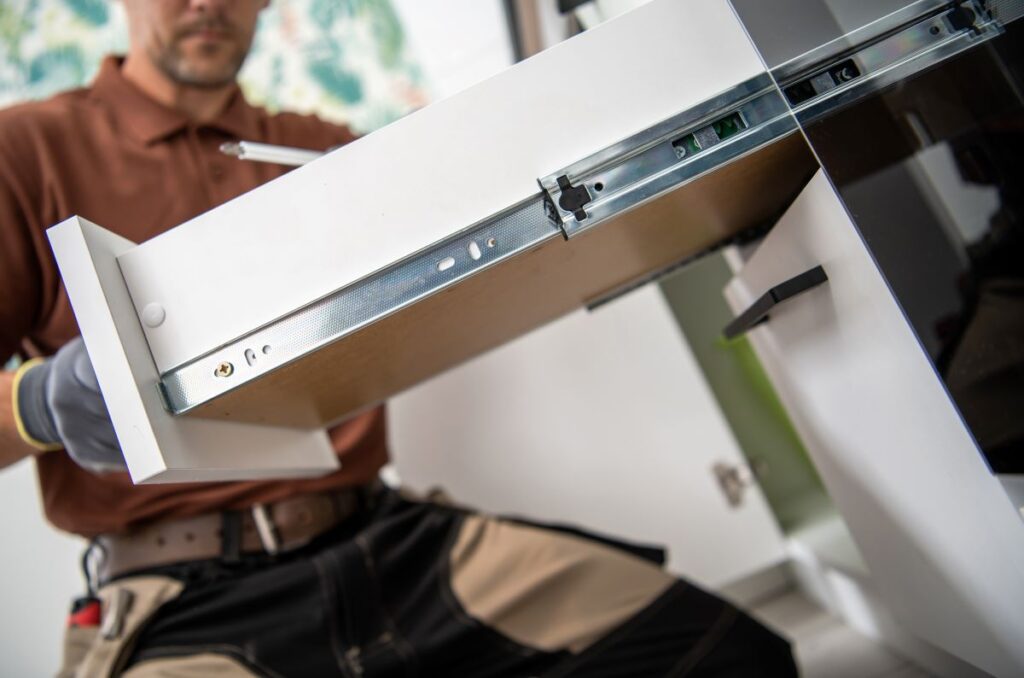
- Clean the Metal Slides
Debris and particles are another reason drawers are pulled or have a hard time getting out. If the drawer gets stuck when you remove it, you need to take a break and check for debris and particles. It is likely to happen if you happen to put food in a drawer. To remove debris, use a pressurized air pump to suck or blow out the particles.
- Adjust the Tabs
Adjust the tabs to match the tilt of the drawer. For example, to lift the front of a chest of drawers, pull the adjuster back. These tabs are positioned at the bottom of the drawer box and taken in and out of the cabinet.
- Check the Fit
The first thing is to make sure that the drawer is smooth and silent. When you continue to hear a squeak, then there is no squarish box of the drawers and you should make it straight. Continue doing it until the trays are in line. In case these checks fail to correct it, the sliding plate can be worn or the tab is torn. You will be required to change the worn parts. This process is the same for Office cabinet adjustment.
- Reposition the Drawer Dumpers
When removing the drawer box, there are several adjustment levers on the back of the cabinet. The tilt agent is located on the back of the cabinet slides attached to the office box. To change the tilt, empty the cabinet and use the tilt tabs on the back of the cabinet slides. As you move the label, you will see a small mounting projection that moves with the label. As the projection increases, the back of the cabinet rises accordingly. By checking the tilt tabs on the rails of each cabinet, you can tilt the cabinet front to back and left to right to achieve a horizontal cabinet box.
Adjustment Door and Drawer- Conclusion
If you are not familiar with cabinets and drawers, the things may be a bit complicated. Do not worry; some experts can help you with adjustment door and drawer. They can ensure that your drawers move smoothly on the sliding rails and always remain smooth. Keep the drawers horizontally and move them correctly to eliminate the “eyesores” in the kitchen style and look nice. It also helps prevent damage to the cabinet.
FAQs
1. Am I able to make adjustments door and drawers by myself?
Yes, in most cases. By using these easy instructions in this article, majority of homeowners can resolve regular problems. What is important is to know your hardware. When you have a door closer or specialty hardware you may require specific directions.
2. How do I not rip my cabinets while adjusting them?
Always use the appropriate screwdriver. Make minor adjustments (1/4 turns) and do frequent testing. Place a soft cloth between your tools and the countertop or cabinet finish and avoid scratches.
3. What happens when adjusting fails to correct the problem?
Check that you have wiped the slides first and make sure that you take all the screws tight. When issues persist, the hardware could get weary or damaged. At this stage, you might have to choose new hinges or slides. To ensure quality investment on higher end cabinets, it will help to have a professional consult.
4. First I should change the doors or drawers?
It is good to begin with doors, which are more commonly easy. This provides a clear picture of the shelf placement and the cabinet space. Then, move to drawers. Note: then empty the drawer space before recoil to view the mechanism clearly and prevent strain.
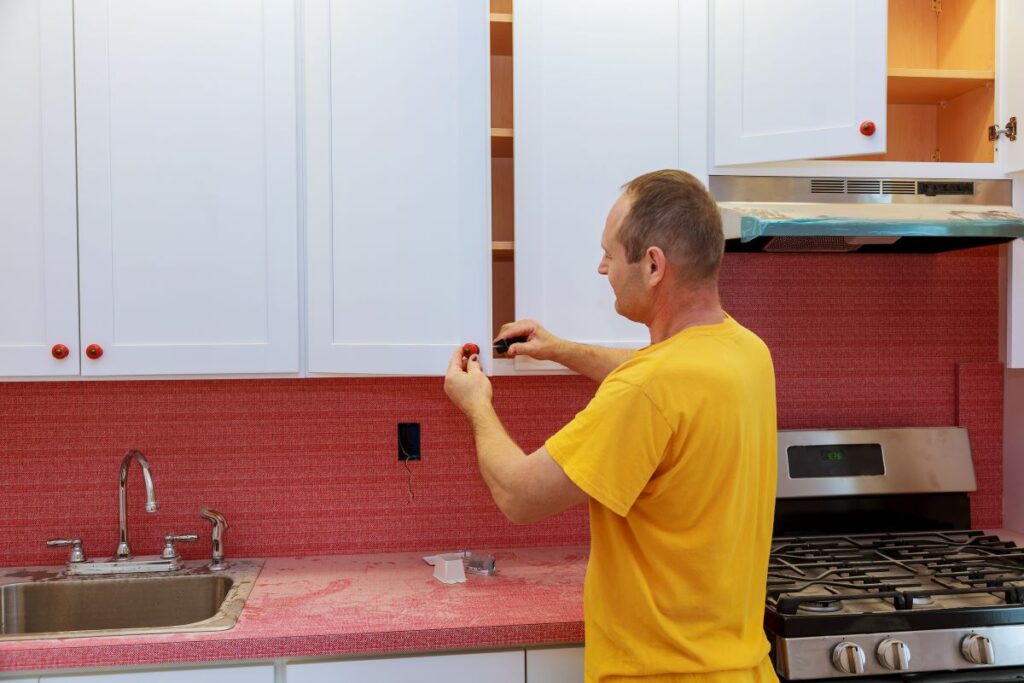
5. Is it possible to upgrade my old cabinets into soft-close?
Absolutely! A trending project is an upgrading of hinges and slides to soft close. You will have to disengage the old hardware and attach the new materials. The variety of options available comes in standard house cabinet sizes, which provides a pleasing modern look to any room.
Leave A Comment