
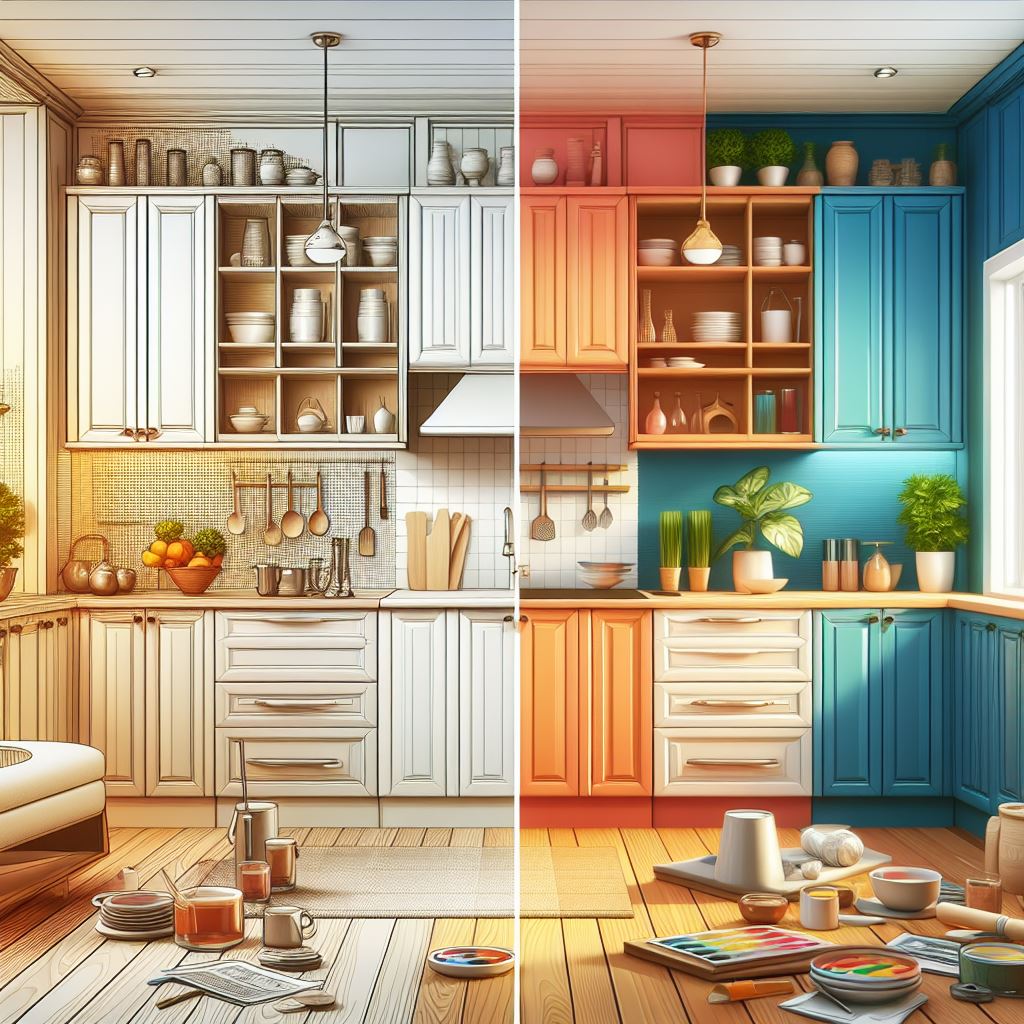
7 Effortless Ways to Master Touching Up Wood Cabinets Like a Pro
Wood Cabinets reward you not only with additional storage space but they add an aesthetic appeal to the overall look of your entire home decor. As careful as you may be, the damage could eventually occur to cabinets—especially kitchen cabinets in high-use areas like near the sink—these can show wear from scratches, water damage, or everyday scuffs on cabinet doors, drawer fronts, and edges. Minor scratches or rough edges could even become a permanent distraction, making noticeable signs of wear on your flawless kitchen.
However, economically speaking, it is irrational to replace the whole item for minor blemishes; touching up of wood cabinets lets you refinish defective areas like damaged surfaces and give your house an entirely new look. SieMatic Kitchen is a brand of stylish and functional kitchen designs that are known for their quality and craftsmanship – making it a great choice for your kitchen renovation project.
Sometimes, really want to refinish those ugly looking cabinets – like maple cabinets or laminate cabinets but not sure how to get going? Revitalizing cabinets can change the mood of the whole scenario. The resurrection depends on the cabinet finish exactly. Touching up of wood cabinets may take just a little time and effort. If the finish is basically in good shape, a good cleaning is simply required. But if the cabinet finish is damaged, you might have to do some refinishing of course.

Cleaning Products Wood Cabinets
For cleaning kitchen cabinets before touch ups, there are a couple of products you might try for wood kitchen cabinet touch up repair. Always begin with cleaning the surface using a mild soap and water solution or mild detergent to remove dirt, grease, grime and debris – especially important for painted cabinets or refinished cabinets in order to ensure proper adhesion.
- Oil soap, cleaning the finished wood gently, without leaving anything behind; equal parts olive oil and white vinegar and apply with a cloth of any softness the scratch for conditioning.
- Liquid soap cleans and restores the natural color, grain and luster of the wooden surface and reintroduces the natural moisture back into the wood. Wood cabinets can be kept shiny through regularly dusting them with a microfiber cloth or a paper towel to eliminate dust and dirt and without scratches. Never use hard sponges or harsh chemicals, they will wear the finish away as time goes on.
- Wipe grease and grime using a mild detergent or cleaner then apply any product. On stiffer areas, lacquer thinner or denatured alcohol can be used, or mineral spirits can be used to wipe off surplus marker or leftovers.
Touch-Up Kits
Shallow scratches or nicks on doors, drawers, or edges can be vanished by using stain-filled touch-up marker or pens on small scratches. Buff the scratches with cloth or pad to get a blend of surface sheen and smooth finish.
- Shake the touch-up pen vigorously.
- Depress the tip of the pen on some scrap wood until it is full of the liquid.
- Apply the touch-up liquid evenly in strokes with a small brush or Q-tip or with your finger tip for blending.
- Allow drying for 2 minutes – then layer sandpaper (like 220-grit) for lightly sanding thin coats.
- Spray with clear polyurethane spray (in thin coats) to seal, protect and restore vibrancy – polyurethane finishes come in both oil and water bases (oil based gives increased heat resistance).
Always test your touch up product on an inconspicuous area to make sure your color match is correct, especially for painted cabinets where you match the existing color of cabinets after sanding away any damaged areas.

Repair of Scratches on wood with a Soft Fill Stick
If you feel that the marker is too heavy, just start with a light application and then build up with a heavier application. For deeper scratches filler sticks or wax pencils (which are more like crayons) can be rubbed directly into gouges or nail holes and leveled with the surface. Pedini Kitchen has a range of innovative kitchen designs which are well known for their quality and craftsmanship and make a good choice for your kitchen renovation project.
For deeper gouges, use wood filler, putty or repair sticks, use a putty knife to apply wood filler, drive the putty rather than smear it into the cavity, let it dry fully, and lightly sand until flush and smooth. Select the stick that is the same color as the wood finish (select a shade away from for better concealing) and follow the steps below:
Apply the fill with an even back-and-forth motion in order to fill in the scratch completely.
Remove the excess fill with a dry cloth or paper towel.
Spray with clear polyurethane to seal and give a durable and smooth finish.
Products such as Old English Scratch Cover (a liquid polish) camouflage the nicks but also condition wood with the product, or rub the meat of a walnut right onto the scratch to camouflage and blend on solid wood cabinets. For dents, remove finish on the spot, wet area with water to swell fibers, dry with a heat gun and fill area lightly with sand.

Process for Painted Cabinets
Old cabinets are brought to life with fresh paint. An acrylic enamel is one of them, which is commonly used to paint the cabinets since it hardens and offers the cabinets a smooth finish that is also lasting. The preparation of the surface is a very crucial step in the case of painted cabinets.
Take these steps:
- Wash with light soap.
- Lightly sand of the affected areas with sandpaper (220 ger) and remove the loose or old paint from the surface. Paint with a small brush, applying light coats of paint at a time. Allow it to absorb better and creating a seamless blend.
- Check for thin spots where additional coats should be added.
- Finish with shellac or lacquer for protection.
Varnish best for a plain look, use a foam brush for smooth results. Faux techniques or chalkboard paint can make it look better.
Wood Filler
For small chips or any major damage on the surface of wood, use wood filler or putty. They rebuild the section of damage before touch up paint is applied. For larger areas to be repaired, lightly sand rough edges first and then fill with wood putty. Blend with surrounding finishes. Use a thin, aerosol-administered lacquer or polyurethane that will radiate the original cabinet’s finish. Seal touch ups with a clear topcoat for protection from future wear.
Seriously peeling or damage to cabinets – from water damage for example – may require serious restorations: sanding, staining, sealing or painting. High traffic areas near the stove or sink will be prone to scuffing.
Kitchen Cabinets Hardware
Replacing hardware on kitchen cabinets, such as hinges, handles or knobs, is a fast way to give drawer fronts and doors a new look. Installing soft-close hinges prevents slamming as well as mitigates impact damage over time.
Sanding
After cleaning, high-grit sandpaper the boxes of cabinets to check if mold or mildew is present. It roughens the surface for better adhesion of polyurethane, stain or paint. Wipe out sanding dust with tack cloth; let dry. Sanding is essential to any touch-up technique.
Staining
Again, apply thick gel stain on surface; wipe away excess to cover surface evenly. For faded areas use a light coat of gel stain or use products such as Howard Restor-A-Finish that will restore the color without stripping. Let sit and dry; mix shades for customized looks.

Painting and Finishing
- Apply paint or varnish thinly For best results, thin, even coats and seal with corresponding spray lacquer or polyurethane.
- Cleaning is first, use denatured alcohol or lacquer thinner on oily residue.
Steps to Refining Your Kitchen Cabinets
- Unscrew cabinet hinges, knobs and doors; set aside.
- Protect yourself by wearing a dust mask.
- Wipe to remove dust and debris using a cloth dampened with mineral spirits.
- Sand crevices with long strokes using paper with a grit.
- Mix stain; dip brush, knock out excess, use overlapping strokes, but don’t over brush.
- Brush whole surface smooth.
- Reinstall doors, drawers and hardware.
Touch Ups
Touch ups are great for minor damage for better appearance without complete repaint: Clean with Degreaser, Use Stain Pens or Markers for Light Scratches, Wax Sticks or Wood Filler for Deep Gouses followed by Seal. For best adhesion, lightly sand prior to applying finish. Cabinet refinishing extends life in a sustainable and affordable manner compared to replacement – DIY or pro.

Why Prefer to All One Kitchen for Touching Up of Wood Cabinets
All One Kitchen offers professional repair and refinish services to give back original beauty, scratches, water damage and more. Professionals ensure a high-quality finish, the choice of the color of cabinets, deal with various damage without replacing them in full. Touching up of wood cabinets is time consuming DIY; contact the experts for like new results.
How It Works
Send a picture of your damaged cabinet (doors, drawers etc.) and contact info.
Get a callback for free estimation and appointment.
Pros fix on-site-same day service.
ONE CALL Solution for residential or commercial. Trust All One Kitchen.
FAQ about Touching Up of Wood Cabinets
Q: How can you repair scratches on wood cabinets?
A: We clean with a mild soap, color saturation of dry, markers or wax sticks for circumstantial scratches and wood filler for deeper gashes, sealing with polyurethane.
Q: How to take care of painted cabinets?
A: Keep them with mild soap and water and then lightly sand loose paint. Apply acrylic thin coats of enamel in matching color.
Q: Can water damage, chipping, etc be handled by professionals?
A: Yes- Pro cabinet refinishing tackles scratches, water damage, and chips trying wood filler, sanding, and sealing for long life.
Q: How do you quick fix small chips?
A: Use wood filler or putty, dry, sand smooth and touch up with paint or stain in thin coats.
Q: Whether I should use oil or water based polyurethane?
A: They both protect well, oil-based is better at withstanding heat from kitchen cabinets that are near sinks or stoves.
About Us

Leave A Comment